Showing posts with label tutorial. Show all posts

Wednesday, February 18, 2015

Wonky Stripes Baby Quilt + Tutorial!

I have the cutest little baby boy quilt to show you today! It is so easy and fun to make I though some of you might like to whip one up too so I have a quick tutorial made up.
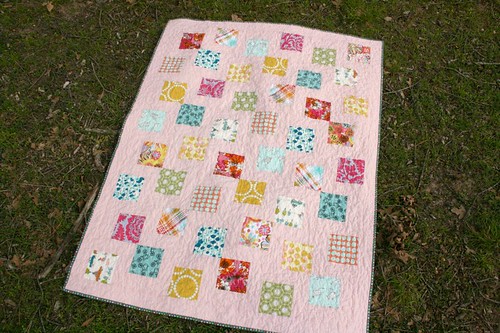
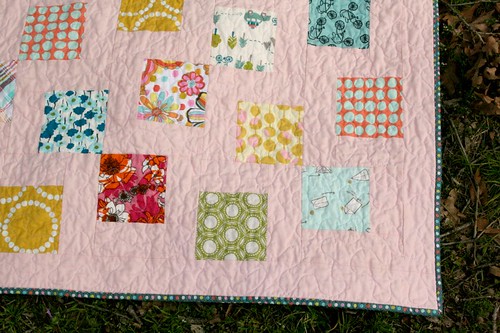
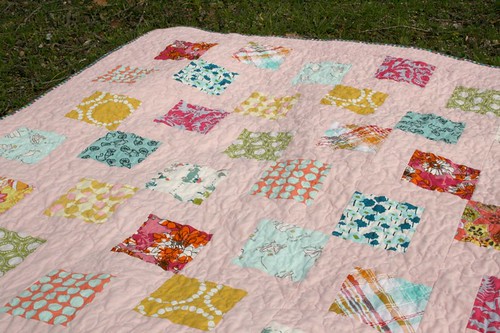
Wonky Stripes is the most unoriginal name but I am at a loss....what would you name it?

Wonky Stipes Baby Quilt Wonky Stipes Baby Quilt Wonky Stipes Baby Quilt Wonky Stipes Baby Quilt

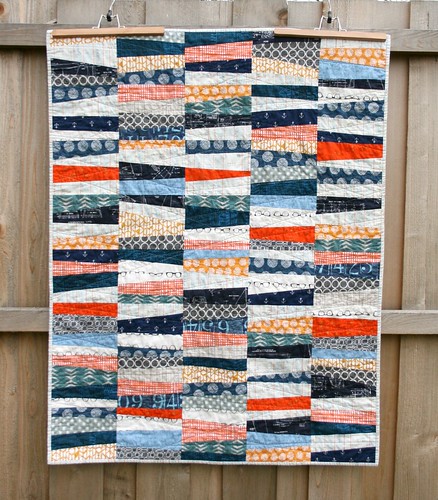
This quilt ended up being 37.5" by 48".
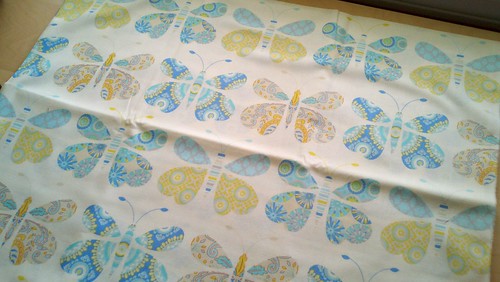
You'll need at least 10 fat quarters.
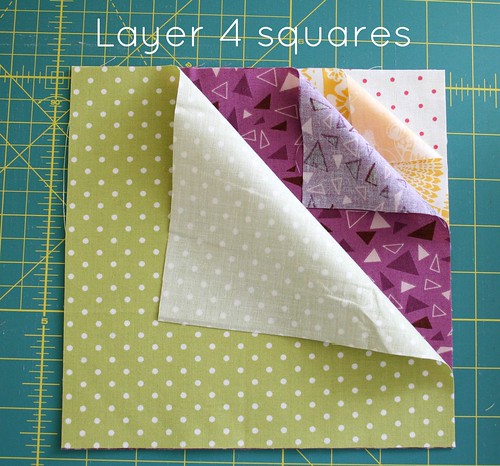
Cut 40 8"x8" squares from your fabrics.

Stack a variety of 4 squares, making sure that the top and bottom squares are not the same color (because they will be touching each other when you sew them into blocks).
Wonky Stripes Tutorial

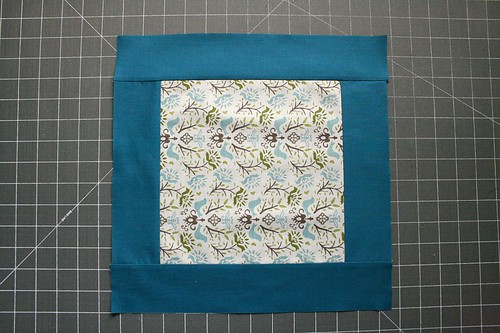
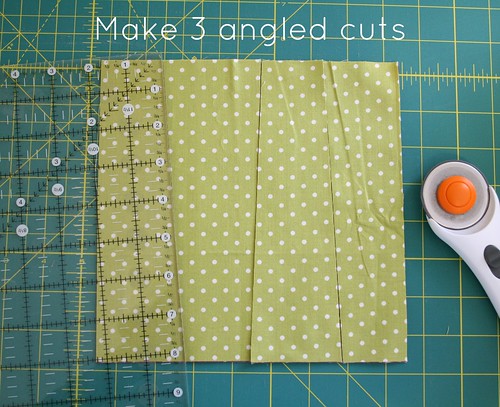
Make 3 cuts at slightly wonky angles so that you have 4 stacks of strips. Make sure to keep the stacks in the order you cut them in.
Wonky Stripes Tutorial

Next, rearrange the layers so you can sew them together into blocks.
Wonky Stripes Tutorial
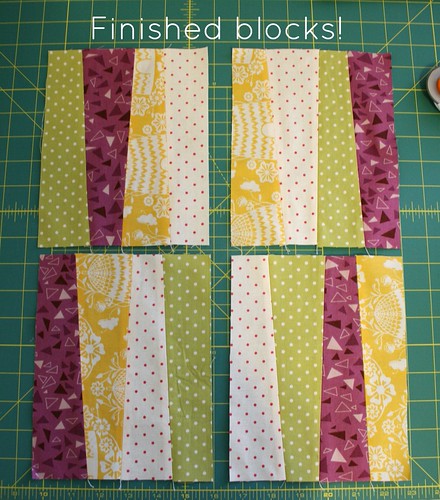
Now sew together the strips in the order you see them from left to right.

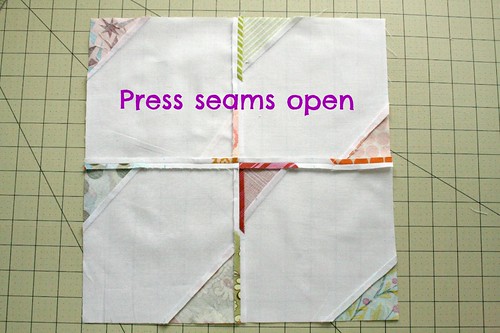
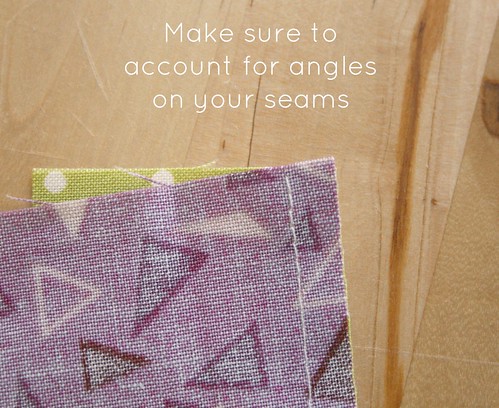
One thing to take note of when you're sewing the strips together. Because you are sewing angled pieces, you need to overlap the points where the seam allowance is.
Wonky Stripes Tutorial
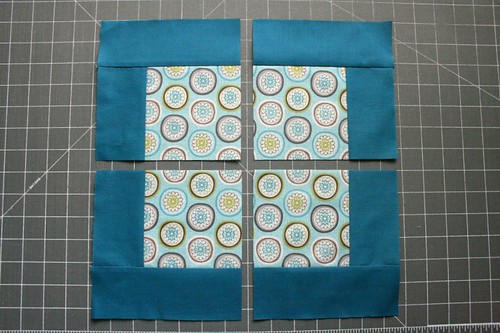
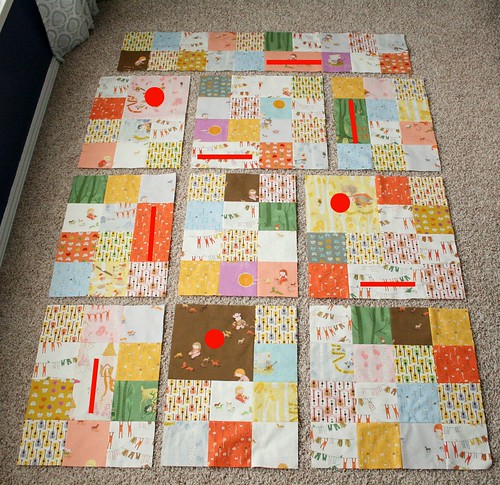
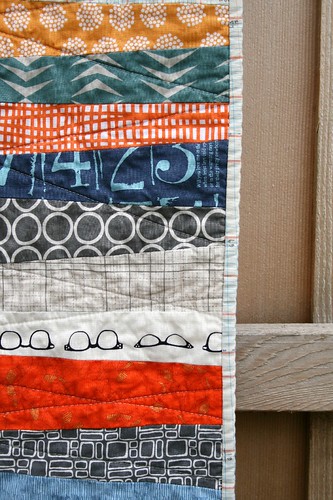
You'll end up with 4 finished blocks that are 8"x6.5".
Wonky Stripes Tutorial
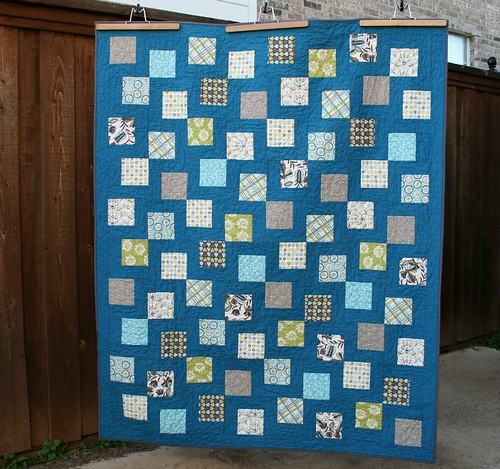
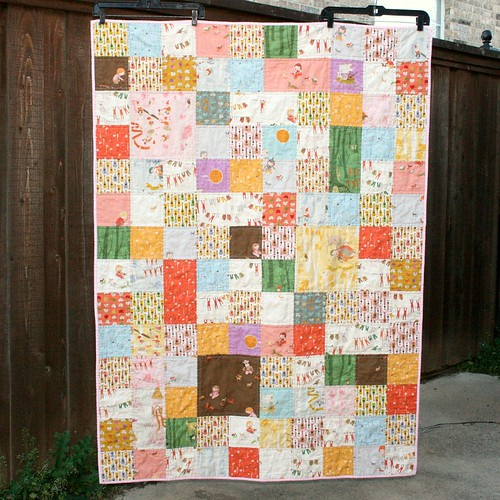
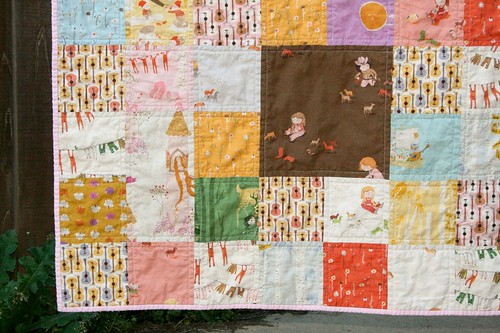
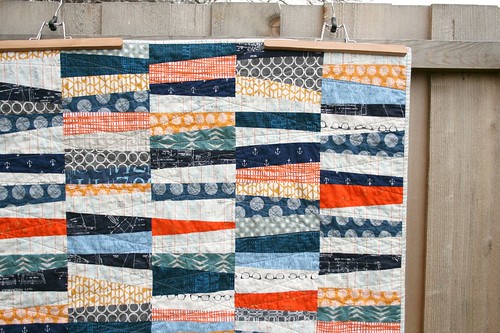
After all the blocks are pieced, you can arrange them (with the blocks turned horizontal) 5 blocks across and 8 blocks down. Finally, sew the blocks into 5 vertical columns and then sew the columns together. Done!

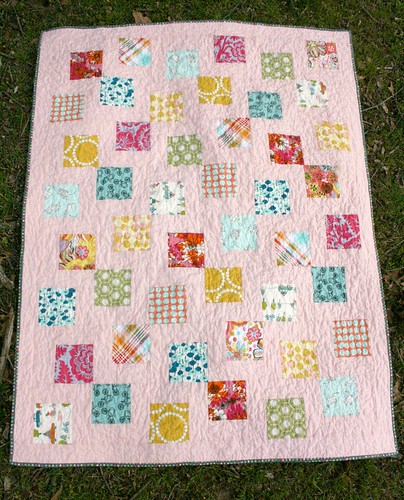
I'm working on a version of this with girly colors as you can above. I can't wait to see how it turns out!

Monday, April 08, 2013

Friday's Quilt ~ a tutorial

This quilt could not be simpler or more fun to make! It employs the technique of sewing up a block then cutting it up to make smaller blocks (like you do for Disappearing Nine Patch blocks). I'm calling this Friday's Quilt because you can whip it out by Friday. :)

Friday's Quilt

This tutorial gives specifics to make a baby sized quilt (40" by 52") but you can easily adjust to make any size you want.

Fabrics and Cutting
To start, you'll need 12 prints and about 1.5 yards of a solid for the background.

From the prints, cut 12 9"x9" squares (1 square from each fabric if you're using 12 fabrics).

From the background fabric, cut 19 2.5-inch wide strips (2.5" x width of fabric).
- Subcut 6 of the strips into 9" lengths to make 24 2.5"x9" pieces.
- Subcut 8 of the strips into 13" lengths to make 24 2.5"x13" pieces.

Friday's Quilt {tutorial}

Sewing
Sew the short and long strips to your squares like so. Chain piecing makes this go fast!
Friday's Quilt {tutorial}
You should then have 12 of these blocks measuring 13" square.

Now, the fun part! Cut your square into quarters so that you have 4 6.5" square blocks.
Friday's Quilt {tutorial}

Arrange them alternating the orientation, 6 blocks wide by 8 blocks tall.
Friday's Quilt {tutorial}
Piece the blocks together row by row.
Finally, add the remaining full length strips to make a border around the whole quilt.
Quilt and bind as desired!

Friday's Quilt Friday's Quilt Friday's Quilt

Here's a larger lap size I originally made a year or so ago. I love how the squares look like they are floating. The next version I make I would love to use a collection of "low volume" prints as the background, how fun would that be!
IMG_8102s IMG_8104s

I hope the instructions were clear but please don't hesitate to contact me with questions! As always, you are welcome to use this tutorial to make and sell the finished product on a home-based scale giving credit to this site. Thanks!

Thursday, August 30, 2012

12.5" Butterfly block

Whew! So, we are finally settled into my Dad's place. Moving is stressful! We'll just be here temporarily until we can find a place we like in our price range. We're still in the same area. It's nice to have family close by!
To add to the chaos, we are leaving on a road trip tomorrow, but it should be fun. :)

September is my month for the Heal do.Good Stitches circle again! I'm so excited to be doing this. Nicke, our lovely circle leader, posted about some of the hospice patients receiving their quilts. It was very moving to see their smiling faces despite the adversity they face in life.

So, for the September quilt, I want to keep it simple. I found this fabric for a steal online a month ago. 
butterflies
These butterflies are quite sweet and will be perfect for the quilt back!

I immediately thought of Ashley's Dinner Date Tutorial because to me they look like butterflies. I just want to provide some more detailed instruction for consistencies sake since so many are contributing. (I'm one of those people who loves details! That's why improv is tricky for me. LOL!)

To make a 12.5" Butterfly block:

1. Start by cutting 4 6.5" squares from your white (background) fabric.
2. Take a square and make a mark at 3.25" on each side. 
12.5" butterfly block

3. Chose scraps that will adequately cover the top right and bottom left corners. Place them well within the markings (this is so the "butterfly wings" won't overlap when all sewn together. My green one here is a little too close to the markings.). Vary the angles a bit to make them a bit wonky.
12.5" butterfly block

4. Sew the corner scraps on, again making sure that your seams are well within the markings.
12.5" butterfly block

5. Press and then flip to trim away the excess.
12.5" butterfly block

6. Now trim away the excess background. You don't want your seams to be too bulky.
12.5" butterfly block

7. Repeat so that you have 4 6.5" squares.
12.5" butterfly block

8. Sew and press seams open. (oops I forgot to trip one of my corners)
12.5" butterfly block

9. Whaalaah!
12.5" butterfly block

This block is super simple and I think it will make a very happy quilt!

Sunday, March 18, 2012

Far Far Away III Patchwork Quilt

I've had this little beauty done for a couple of weeks now and got to enjoy it on my bed a few nights before it got too warm.

I had planned on doing just a simple patchwork with 5" squares but after I started cutting I realized I needed some bigger squares to show off the large scale story prints. Far Far Away III patchwork quilt
I love the full scenes with the 7 dwarfs cutting down the tree and snow white sleeping.
Far Far Away III patchwork quilt
There are a few pints from the Far Far Away II collection in there too.
Far Far Away III patchwork quilt
I'm not super happy with the backing on this. I used a couple of large pieces from FFA3 and then a mishmash of fabrics from my stash. There is something about it that isn't jiving with me. Oh well, it's just the back.
back
I love the drape of the cotton/linen canvas fabrics and I had thought it would make a heavier quilt but really, it's as light as my 100% cotton quilts. It's nice!
Far Far Away III patchwork quilt

I thought I'd share my "recipe" for this quilt since I think it makes a nice layout for large scale fabrics and adds interest to a plain patchwork quilt.

The finished quilt measures 45" by 63", a perfect throw size.
Cut from fabrics:
(116) 5"x5" squares
(3) 5"x9.5" horizontal rectangles
(3) 9.5"x5" vertical rectangles
(3) 9.5"x9.5" squares

Lay out your squares and rectangles as shown. The quilt will be 10 squares across and 14 squares down.
layout
I've indicated the placement of the large squares with the dots and the rectangles with the lines. The picture above shows the "blocks" I pieced together before finally sewing them into the finished quilt top. (Click the picture to view it larger in Flickr)

That's it really. Enjoy!